

It is common to have a digital resource in one file but only want or need to share a few pages at a time with your students.
The solution is really very simple.
You'll want to start with your master copy. I recommend labeling the master so that you know it is the complete version of the file.
Next, you'll decide which pages you need and which you don't.
Highlight the pages you want to keep in the thumbnail view on the left side of the screen. Use the CTRL button to select multiple pages at once.
Click "File," then "Make a Copy," and finally "Selected Slides" and then rename the file in a way that makes sense. This could be based on the content it includes, or by the date that you plan to share it with your students.
Check out the video below to watch the process in action!
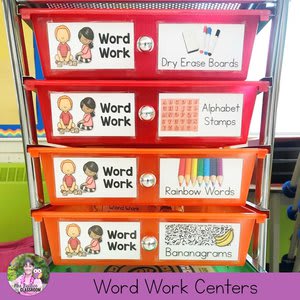
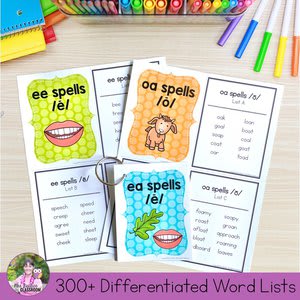
You can grab the digital resource you see in the video, along with many others, in my Teachers Pay Teachers store by clicking on any of the links below:


.png)


Great tip!!! I usually just copy the entire file then in the copy delete what I do not want. Thank you for sharing this is so much faster!
ReplyDelete